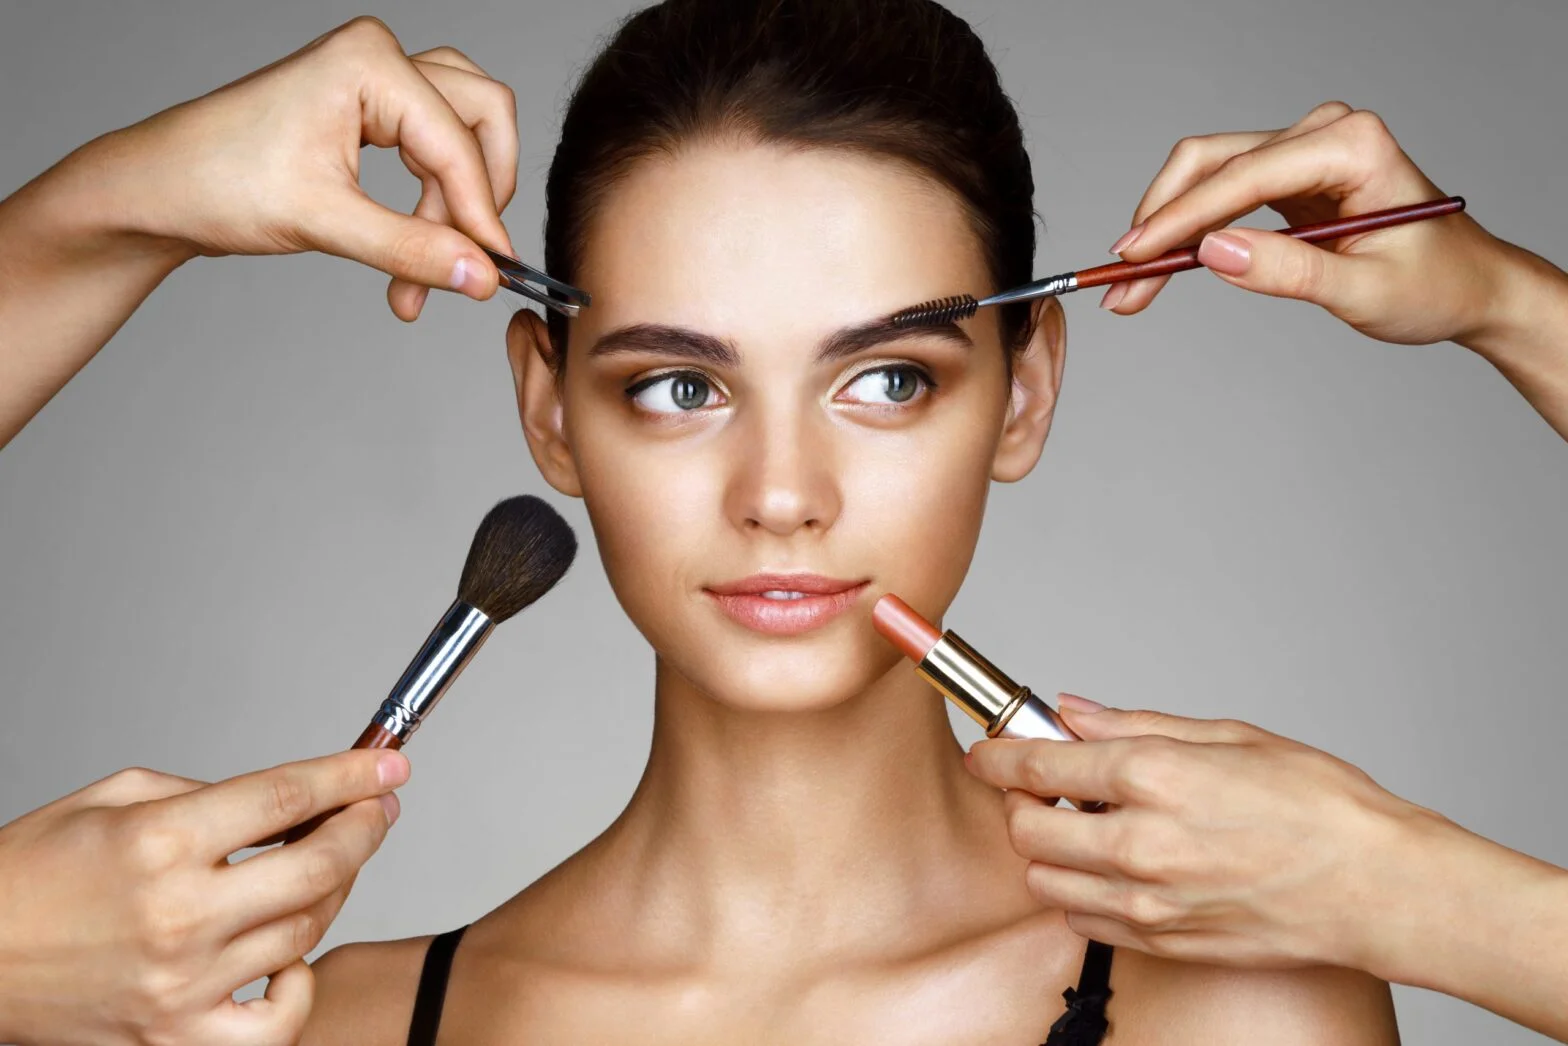
Introduction to Layering in Professional Makeup
Understanding the Basics of Makeup Layering
Imagine preparing a wall before painting — each coat needs to be applied carefully for a flawless final look. Makeup layering works similarly. It involves applying products in a specific order and texture to create a smooth, polished finish that enhances natural features without looking cakey or heavy. At its core, layering is about building the perfect base and adding dimension in subtle stages, rather than slapping everything on at once.

Professional makeup artists know that layering is not just a technique, but a form of art that balances hydration, coverage, and texture. When done correctly, layering helps products meld seamlessly into the skin, resulting in long-lasting, photograph-ready results that can withstand hours under lights or daily wear.
Why Layering Enhances Professional Results
Consider a moment when a client complains that their makeup feels heavy or starts to patch within a couple of hours. Often, this happens because the makeup wasn’t layered properly. Layering allows makeup to breathe and ensures that each product performs as intended. For example, applying moisturizer before foundation not only creates a smooth surface but also prevents flaking and patchiness.
Moreover, layering controls the level of coverage. Instead of applying a thick foundation all at once, adding thin coats builds depth and correction more naturally, avoiding a mask-like effect. This method works well across different skin types and tones, allowing customization that suits specific needs.
Essential Tools and Products for Layering Makeup
Choosing the Right Primers and Foundations
The journey to master layering begins with selecting products that complement each other. Primers act as the first layer, smoothing texture and helping foundation adhere better. For example, a silicone-based primer can fill in fine lines, while a hydrating primer works wonders for dry skin. Knowing your client’s skin type helps you choose the appropriate primer to create a flawless canvas.
When it comes to foundations, texture is everything. A lightweight, buildable formula often works better with layering techniques compared to heavy, full-coverage foundations. Cream foundations can be excellent for adding dimension, but powder foundations may disrupt the layering if not applied with care. Professionals often recommend testing products in natural light to see how they interact with skin and each other.
Importance of Texture and Formula in Layering
Successful layering depends largely on understanding the texture and formula of each product. Water-based products should always precede oil-based ones to ensure proper absorption and prevent pilling. For example, applying a water-based serum followed by an oil-based moisturizer helps lock in hydration without causing makeup to slide off.
Many artists emphasize warming serums and creams between fingertips before application, which improves spreadability and absorption. Using light patting or pressing motions rather than rubbing also prevents disturbing the layers underneath, preserving the integrity of the base.
Step-by-Step Guide to Mastering the Layering Technique
Preparing Your Canvas: Skin Care and Primer Application
Start with a clean, slightly damp face to maximize hydration. Damping the skin before applying skincare products helps them sink deeper and perform better. After cleansing, spritz a facial mist or splash water, then apply your hydrating essence or serum. Let each layer absorb fully — this may sound time-consuming, but the transformation is worthwhile.
Next, follow with targeted treatment serums, like vitamin C or hyaluronic acid, waiting around 3-5 minutes for absorption. Seal in moisture with a suitable moisturizer for your client’s skin type—whether it’s a lightweight gel for oily skin or a rich cream for dry conditions. If the environment demands extra nourishment, especially in winter, add a facial oil prior to moisturizer. Finish this phase by applying a broad-spectrum sunscreen, a non-negotiable step for professional makeup longevity and skin health.
Layering Foundation for Seamless Coverage
With the skin prepped, it’s time for foundation. Use a damp sponge or brush to apply foundation in thin, even layers, focusing on areas needing more coverage. Instead of covering the entire face heavily at once, build up gradually, allowing each layer to set briefly. For example, start with a light layer all over, then add more in problem areas such as redness or uneven tone.
This approach helps the foundation meld naturally with the skin tone and texture, avoiding cakiness and patchiness. It also provides control over the coverage level, so the final look can be tailored exactly to the client’s desires.
Building Dimension with Concealers and Color Correctors
After foundation, use concealers and color correctors to add dimension and camouflage imperfections. Applying these after foundation may seem counterintuitive, but this method allows you to use less product overall and blend seamlessly. For instance, applying a peach-toned corrector on dark under-eye circles before concealer cancels out blue tones, preventing the makeup from appearing heavy.
Concealers should be gently patted over the target areas to avoid disturbing the foundation underneath. These precise layers help create a flawless base that looks natural and luminous rather than thick and obvious.
Adding Depth with Contouring and Highlighting Layers
Contouring and highlighting are the artistry layers that sculpt and illuminate the face. Cream or liquid contour products are ideal for layering because they blend effortlessly into the foundation. Apply contour along the hollows of the cheeks and jawline, and highlight the high points of the face such as cheekbones, brow bones, and the bridge of the nose.
Once placed, blend using upward and outward motions to maintain a lifted appearance. This technique creates shadows and light effects that enhance facial structure without harsh lines, maintaining the natural flow built through the previous layers.
Finish with Setting Sprays and Powders
The final step is locking in all the hard work. Setting powders are best used sparingly and applied with a light hand to avoid dulling the complexion. Focus on the areas prone to excess shine, such as the T-zone, and use a fluffy brush to diffuse any harsh edges.
Setting sprays are excellent for melding all layers together and providing a fresh finish. Spritzing the face with a hydrating or mattifying spray can boost longevity and keep makeup looking alive throughout the day. Professionals often use a combination of both powder and spray to strike the perfect balance between makeup hold and skin radiance.
Common Mistakes and How to Avoid Them
Overloading Layers vs. Creating Flawless Depth
One of the most common errors in layering is over-applying products, which can lead to a heavy, cakey appearance. For example, piling on concealer too thickly to cover blemishes makes makeup crack and separate within hours. Instead, apply thinner layers and build gradually, allowing time for each to absorb and set.
Another mistake is rushing through the layering process. Skipping absorption time or applying products on dry skin creates uneven texture and can cause makeup to ball up. Taking a few extra minutes to let serums and moisturizers sink in makes an enormous difference in final appearance and durability.
Mismatched Tones and Unblended Edges
Unblended transitions between layers or mismatched product tones can break the illusion of flawless skin. For instance, failing to blend contour lines or using a foundation shade too warm or cool for the skin can be noticeable under lights or close inspection. Always check your work under different lighting conditions and adjust tones by mixing or correcting with targeted powders or concealers.
Patience and precision in blending ensure every layer flows seamlessly into the next, creating a natural yet enhanced look.
Pro Tips for Longevity and Flawlessness
Adapting Layering Techniques for Different Skin Types
Understanding skin type is essential to tailoring layering techniques. Oily skin benefits from lightweight, matte primers and gel-based moisturizers, with minimal oil products that could increase shine. Dry skin, on the other hand, requires richer creams and hydrating serums to prevent flaking and create a dewy finish.
For sensitive or reactive skin, layering lightweight, calming products and avoiding heavy textures prevents irritation and redness. A professional makeup artist once shared a story of a bride with combination skin; by customizing layers to balance hydration and oil control, the makeup lasted all day perfectly, despite changing weather conditions.
Using Layering to Correct and Enhance Features
Layering is not only about coverage but also about enhancing natural beauty. For instance, layering a subtle illuminator under blush adds a radiant glow that reflects light beautifully. Similarly, applying a color-correcting primer under foundation neutralizes discoloration, creating a flawless base.
One makeup artist described a client with uneven skin tone who was self-conscious about redness. By incorporating color-correcting serums and carefully layered foundation with light reflectors, the client felt empowered and confident in her skin for the first time. Layering transforms makeup application into a tailored experience that celebrates individual features.
